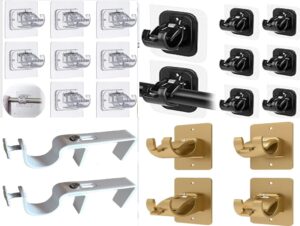
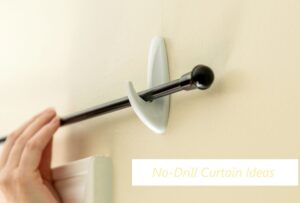
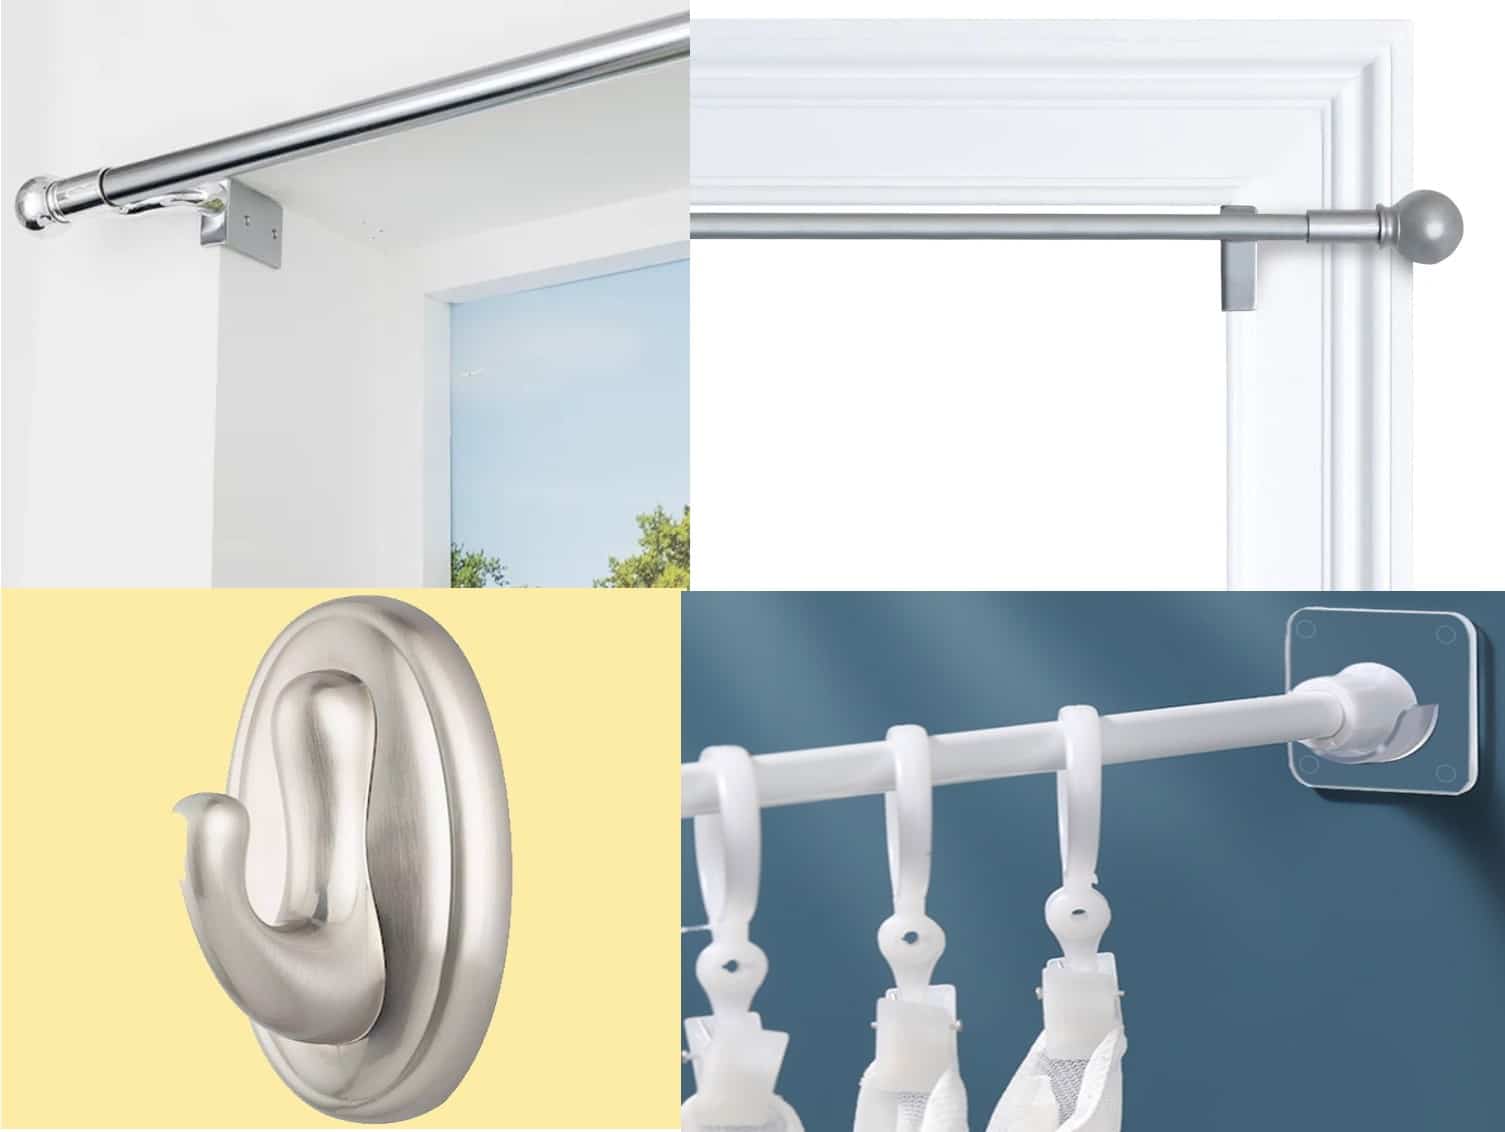
Am I really the only one who did not know that the average renter loses between 200-300 dollars of his/her security deposit because of wall damages from traditional curtain installations? Well, let me tell you the good news–you don’t have to bore holes for the professionally blending window treatment aesthetically along with functionality. Over the past few years, I have tried as many as possible of the no-drill curtain solutions, and I am happy to present you with the most efficient and most transformative, yet wall-saving tactics. For those who live in a rented house/apt, in a dorm, or simply don’t want to deal with hardware installation, these ideas will redefine your approach to curtain hanging!
Understanding No-Drill Curtain Solutions: Key Benefits
- Cost-effective alternatives to traditional curtain installation: No-drill curtain solutions often come at a lower cost compared to traditional method, as they eliminate the need for special tools and professional help.
- Zero damage to walls and surfaces: These no-drill curtain solutions don’t require screws or nails, preventing any permanent marks, holes, or damage to walls and surfaces.
- Perfect for temporary living situations: Ideal for renters, college students, or anyone in a temporary residence, no-drill curtain solutions provide the convenience of easy setup and removal.
- Flexibility to change designs easily: With no-drill curtain options, it’s simple to change curtains or overall look of a space without major work or damage.
- Landlord-friendly solutions: Since they leave no marks or structural damage, no-drill curtain solutions align with most landlords’ requirements and can help resident get their full security deposit back.
Top No-Drill Curtain Hardware Options for 2024

- Tension rods: weight limits and sizing guide
Tension rods are adjustable and use spring tension to stay in place between two surfaces. They come in a range of sizes to fit various window widths and weight capacities. When choosing a tension rod, ensure it’s rated for the weight of your curtains to prevent drooping or falling. - Command hooks and strips: installation tips
Command hooks and adhesive strips provide a versatile way to hang curtains without causing wall damage. For best results, clean the surface with rubbing alcohol before application and wait at least an hour before adding any weight. Choose hooks that match the weight of your curtains for secure installation. - Magnetic curtain rods: ideal surfaces
Magnetic rods are perfect for metal surfaces like steel doors or window frames. They attach without tools and are easy to adjust or remove. Ensure the surface is clean and smooth for the strong hold. - Kwik-Hang curtain rod brackets
These innovative brackets hook onto the top of a window frame, requiring no screws or nails. They are strong and provide reliable support for standard curtains, making them an efficient and damage-free solution. - Over-the-door curtain rods
Over-the-door rods slip over the top of doors, allowing you to hang curtains without any drilling. They are especially useful for adding privacy to rooms or covering glass doors and are quick to install and remove. - Velcro solutions and adhesive options
Velcro and other adhesive strips can be used to attach lightweight curtains directly to window frames or walls. They are best suited for sheer or lightweight fabrics and can be removed easily, leaving no part leftover behind.
Choosing the Right Curtains for Drill-Free Installation
- Weight considerations for different hardware
When selecting curtains for no-drill curtain installations, consider the weight capacity of your chosen hardware. Lightweight curtains like sheer and linen work well with tension rods, Command hooks, and Velcro solutions, while heavier fabrics like velvet or blackout curtains may require magnetic rods or Kwik-Hang brackets for strong support. - Best fabric types for no-drill solutions
Lightweight materials such as cotton, voile, and polyester blends are ideal for most no-drill options, as they spend less pressure on the hardware. Heavier fabrics, including blackout curtains, can still be used but should be paired with stronger options like Kwik-Hang brackets or high-capacity tension rods. - Length and width measurements guide
Ensure the curtains are wide enough to cover the window fully and have a length that suits the room’s aesthetic and practical needs. For tension rods or Command hooks, opt for curtains that have a bit more width for a fuller appearance. Measure from where the hardware sits to the desired endpoint to determine the appropriate length. - Style recommendations for different rooms
- Living rooms: Go for light, airy fabrics or semi-sheer curtains to create an inviting space.
- Bedrooms: Blackout or room-darkening curtains help ensure privacy and better sleep.
- Kitchens and bathrooms: Use shorter, water-resistant curtains for ease of cleaning and durability.
- Home offices: Choose light-filtering curtains for a balance between natural light and privacy.
- Light filtering vs. blackout options
Light-filtering curtains are made from semi-sheer or lightweight materials that allow natural light to flow through while maintaining privacy. Blackout curtains, on the other hand, use thicker fabrics and lining to block light completely, which is perfect for bedrooms and media rooms. Pairing the right curtain type with your no-drill hardware can optimize both style and function.
Step-by-Step Installation of no-drill curtains
- Surface preparation techniques
Begin by cleaning the surface where the hardware will be mounted using a mild cleaner or rubbing alcohol. This removes dust, grease, or residue, ensuring that adhesive-based hardware, like Command hooks or Velcro, adheres properly. Before proceeding, make sure the surface should be dry. - Measuring and marking without damage
Use a pencil or removable adhesive tape to mark where the curtain hardware will be placed. Ensure the marks are level by using a spirit level or measuring tape. This step is crucial for achieving an even and professional appearance without drilling holes or causing damage. - Hardware placement tips
Position the hardware at the appropriate height above the window for your desired curtain length. If using tension rods, extend them to the correct width and adjust until they fit snugly between the two surfaces. For adhesive hooks or Velcro, press firmly for the recommended time to ensure a secure hold. - Curtain hanging methods
Slide the curtain onto the rod or attach it using clips or hooks, depending on the chosen hardware type. For over-the-door rods or Kwik-Hang brackets, place the rod into the bracket or loop the curtains over the rod before positioning it. - Securing and stabilizing techniques
Double-check that all components are securely in place by gently tugging on the curtains. For tension rods, ensure there is enough pressure for a firm fit. For adhesive hooks or brackets, reinforce with additional adhesive strips if needed. Magnetic rods should be checked to confirm they are fully engaged with the metal surface. - Troubleshooting common issues in no-drill curtain solutions
- Hardware slipping or falling: Check that the surface is clean and dry. Reapply adhesive strips if necessary or switch to a stronger option.
- Tension rods losing grip: Adjust the length to create more tension or opt for rubber end caps for better friction.
- Curtains not hanging evenly: Recheck measurements and level markings; adjust placement as needed.
- Weight issues: If the hardware isn’t supporting the curtain’s weight, consider swapping to a more robust solution, such as Kwik-Hang brackets or magnetic rods for metal frames.
Creative No-Drill Window Treatment Ideas
- Temporary window films
Window films provide an easy and stylish way to add privacy and light control without the need for curtains or blinds. They come in various patterns and opacities, from frosted and stained-glass effects to decorative prints. Simply cut the film to size, peel off the backing, and apply it to the window surface. These films can be perfect for renters and temporary setups. - Tension rod layering techniques
Use multiple tension rods to create a layered curtain effect. Place one rod closer to the window with sheer curtains to allow natural light while maintaining privacy. Add a second rod slightly in front of the first with heavier, decorative curtains for added style and light-blocking capabilities. This technique adds depth and flexibility to your window treatment without permanent installation. - Room divider solutions
Tension rods can be used as room dividers to create a flexible space within larger rooms. Hang floor-to-ceiling curtains from a strong tension rod to create a semi-private area, ideal for studios or shared living spaces. This method is easy to set up and remove, allowing for versatile space management. - Doorway curtain installations
For spaces without doors or where you want to add a softer, decorative entryway, use over-the-door curtain rods or tension rods to hang curtains across doorframes. This approach adds a touch of elegance and can be used to create privacy between rooms without any permanent changes. - Small window solutions
For small or narrow windows, consider using Velcro strips or adhesive hooks to hang lightweight curtains or fabric panels. You can also use slim magnetic rods for metal window frames. Choose fabrics that complement your space, such as café-style curtains for kitchens or semi-sheer panels for small bathrooms.
Maintenance and Care Tips for no-drill curtains
- Regular hardware inspection routine
Periodically check your no-drill hardware to ensure it remains secure. Look for signs of slipping or loosening, especially on tension rods or adhesive-mounted hooks. Tighten or readjust as needed to maintain a firm hold and prevent unexpected falls. - Cleaning methods for different solutions
- Tension rods: Wipe them down with a damp cloth and mild detergent to remove dust and grime.
- Adhesive hooks and strips: Clean around the adhesive area gently with a soft cloth to avoid loosening the adhesive.
- Magnetic rods: Clean the rod and surface to ensure a strong magnetic connection by wiping them with a non-abrasive cleaner.
- When to replace adhesive elements
Adhesive hooks and strips may lose their effectiveness over time or due to exposure to heat and humidity. Replace them if they start to peel or cannot hold the weight of your curtains securely. For safety, consider changing adhesive elements every 12-18 months or sooner if they show signs of wear. - Seasonal adjustment recommendations
Adjust your window treatments with the change of seasons to optimize comfort and energy efficiency. For colder months, switch to heavier, insulated curtains that help retain warmth. In warmer weather, lighter and sheer fabrics can enhance airflow and let in more natural light. Check hardware stability after each change to ensure it is secure. - Weight distribution maintenance
To maintain weight balance and prevent damage to your no-drill hardware, avoid hanging heavy curtains from tension rods or adhesive hooks unless they are specifically rated for that weight. Regularly inspect the rods and hooks for signs of stress, such as bending or adhesive pulling away. For magnetic rods, ensure an even distribution of fabric along the rod to keep it from tilting.

Conclusion:
Fight the common dilemma of losing security deposit by redesigning your living space smartly! Here you can see that no-drill curtain solutions provide you the elegance of the curtains and at the same time retain the confidence of the landlord. Remember always that the choice of the right hardware for a given application is very important and implementation of correct procedures to install the hardware takes a very important position.
